Built-in, built to last, built to look like it's always been there
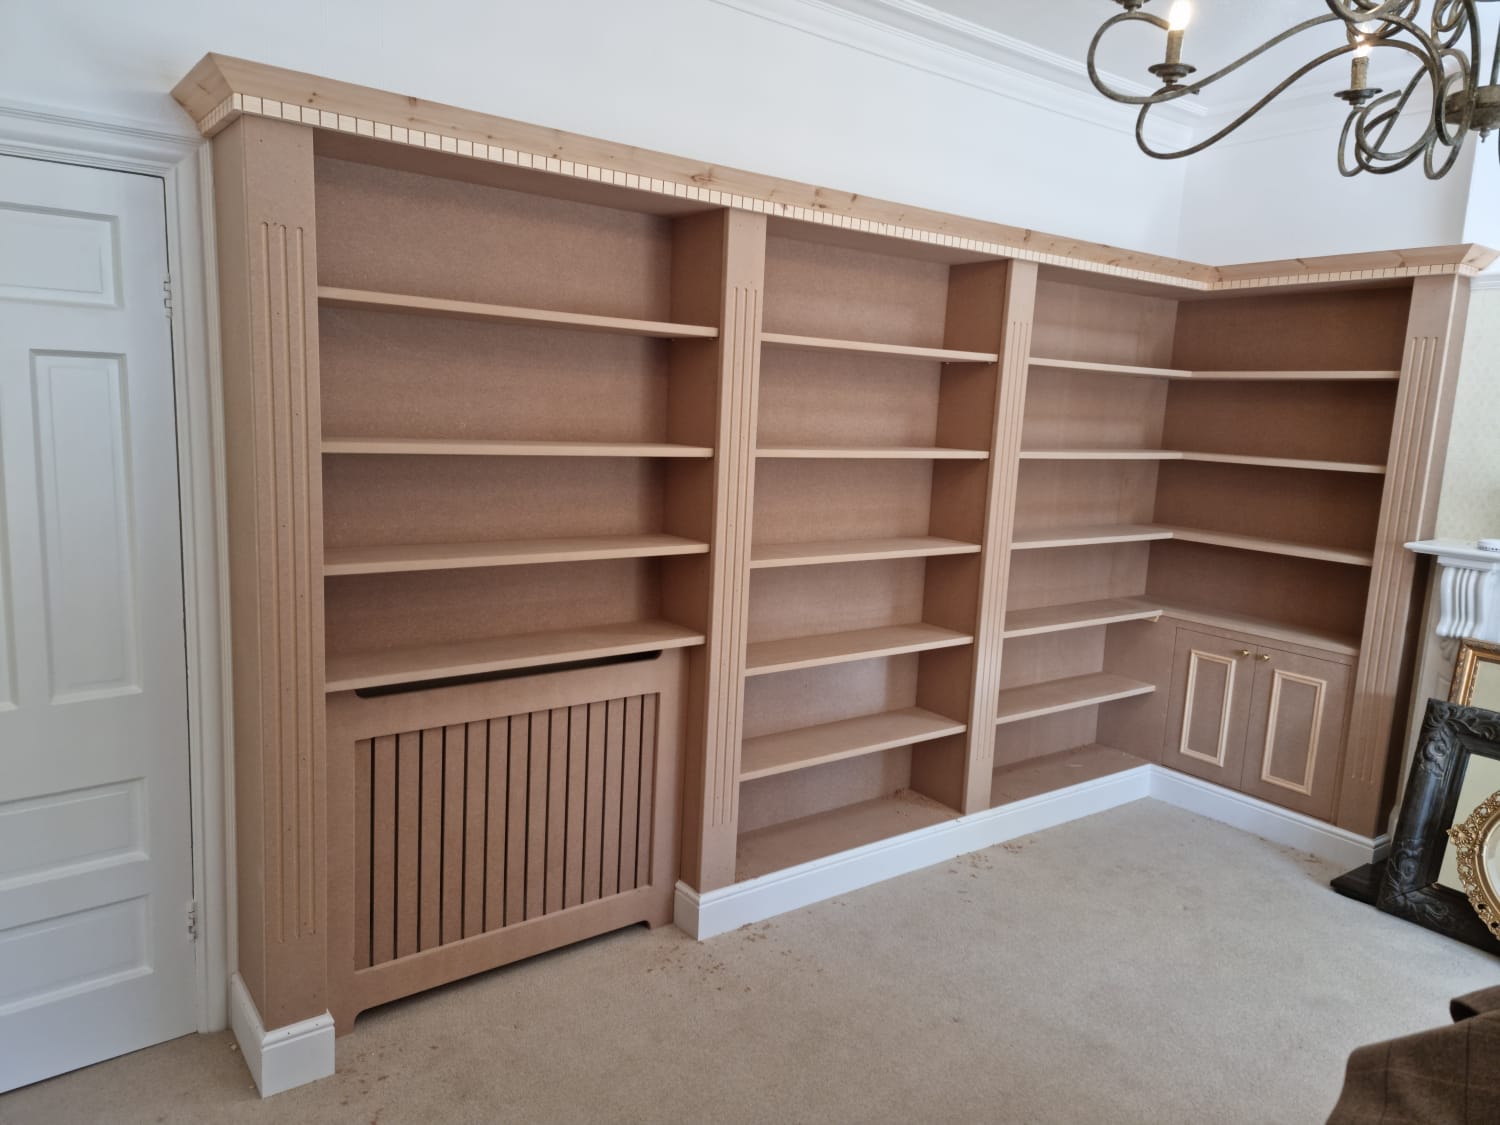
There's a world of difference between a flat-pack unit wedged into an alcove and a true bespoke fit. A flat-pack unit has corners, gaps down the sides, obvious standalone feet. A bespoke alcove unit has its carcass scribed tight to the walls, skirting continued across the base, cornice that ties into the chimney breast, and doors that sit flush with the chimney breast face. Done well, it looks architectural - not furniture.
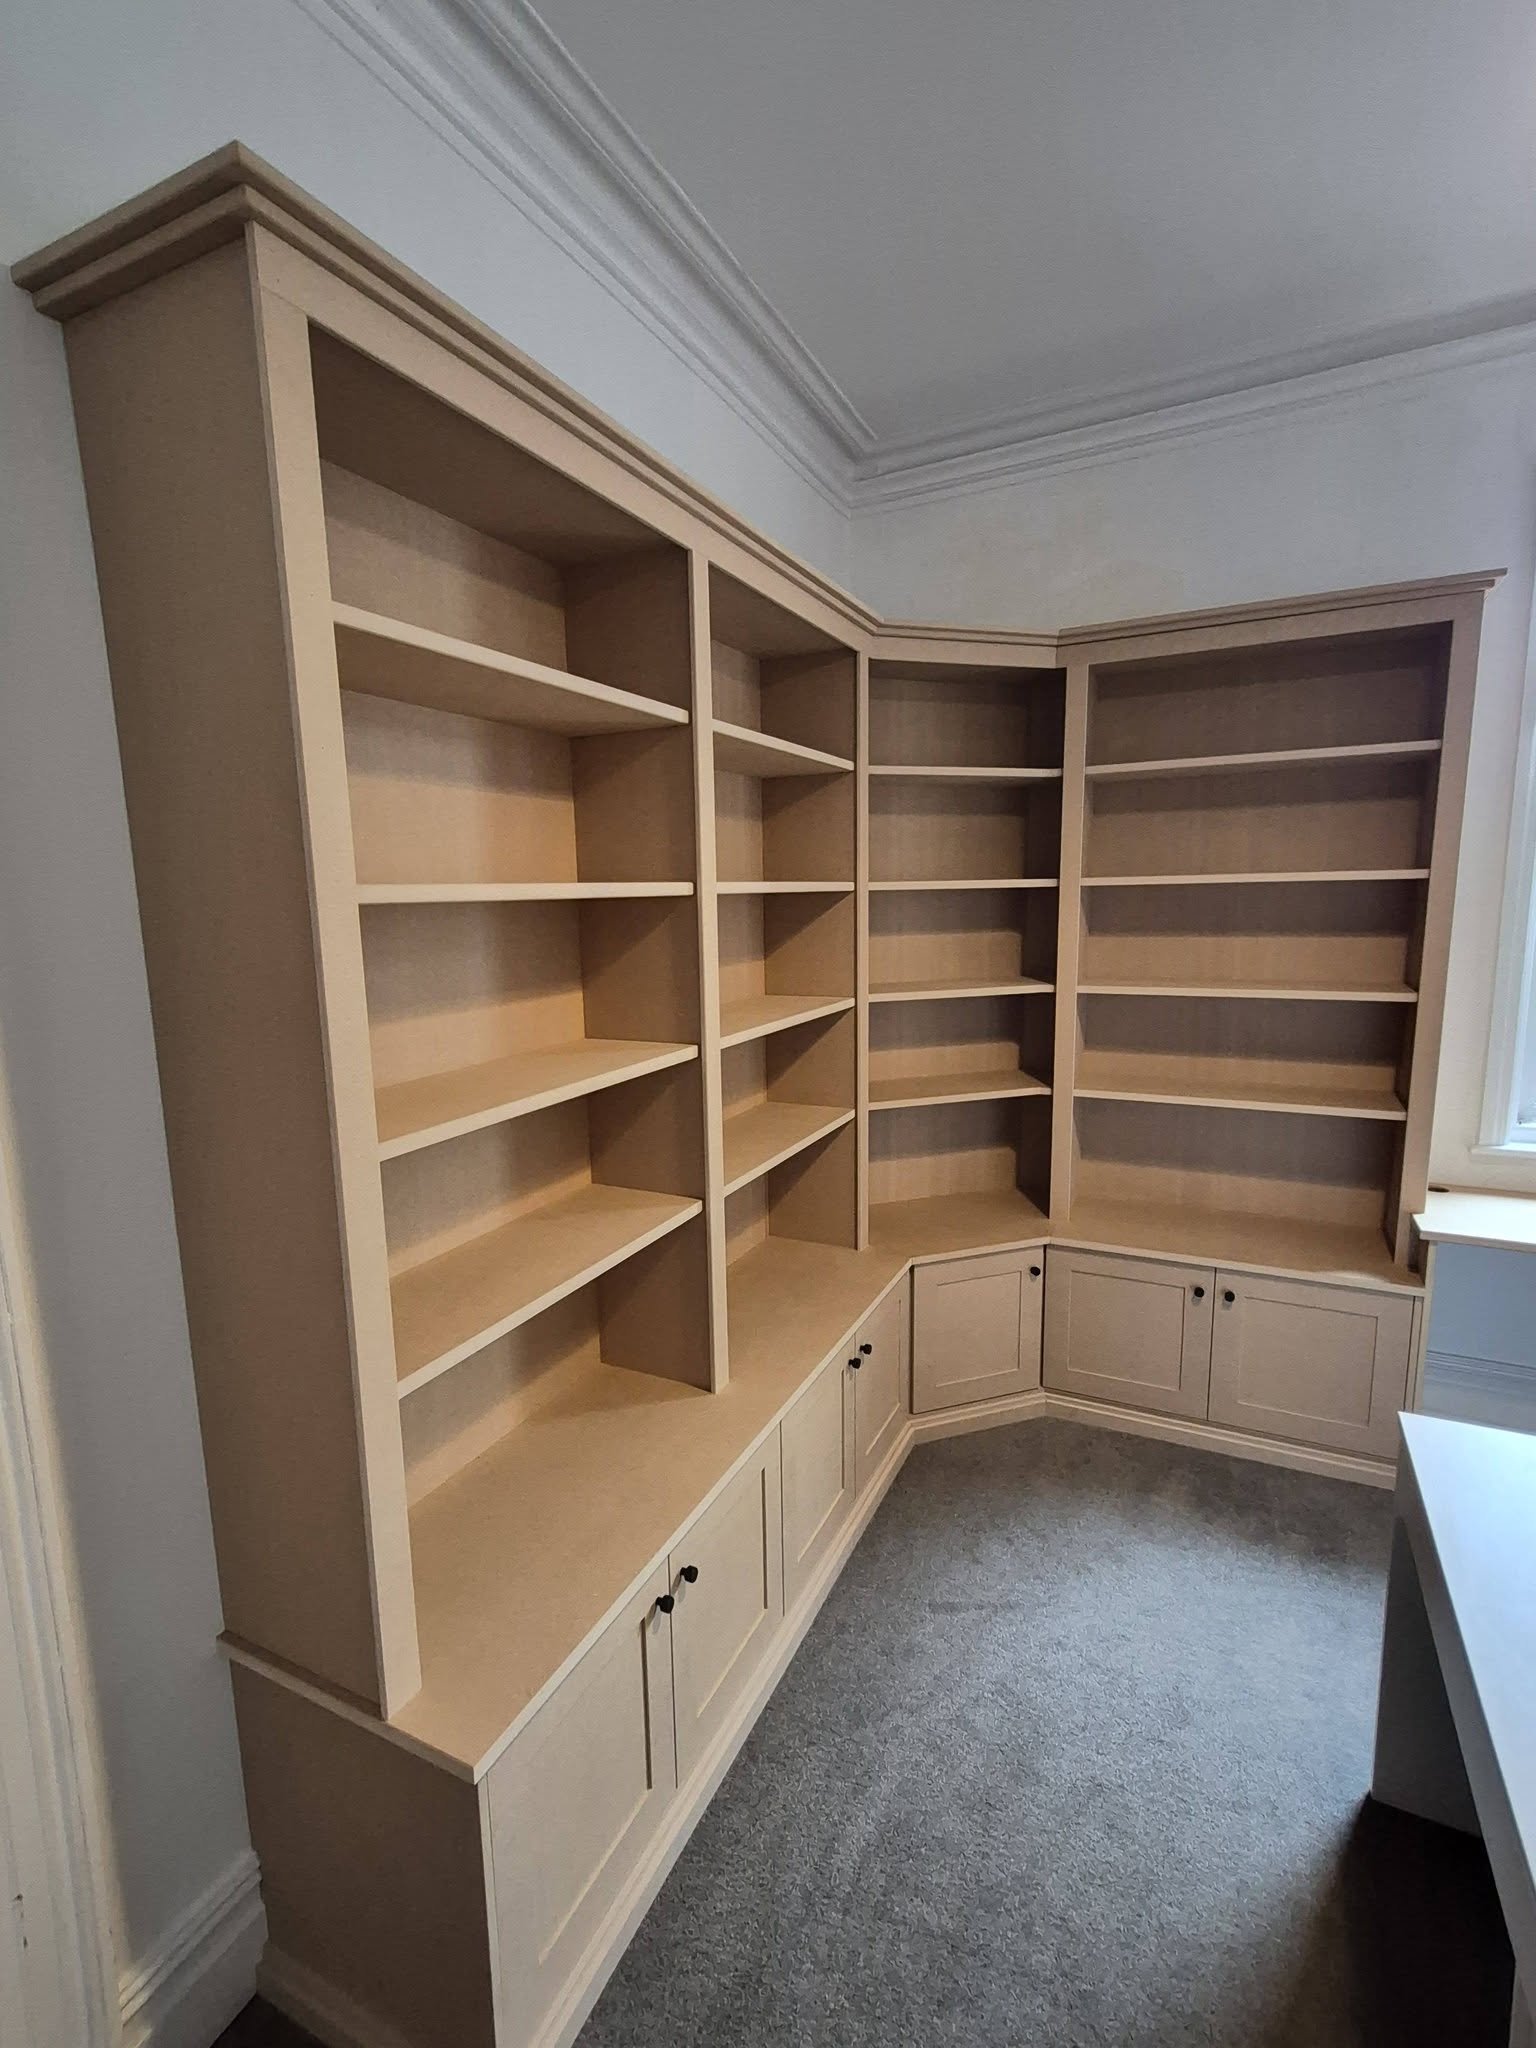
Every alcove job I do is made-to-measure from 18mm moisture-resistant MDF (MRMDF) or birch plywood carcass, with solid timber face frames and shaker, beaded or flat-panel doors to suit the period of the house. Shelves are 18mm-thick, adjustable, and - crucially - the right depth: shallow enough not to swallow a room, deep enough to hold actual books or decanters.
Design options - from simple to showstopper
The bread-and-butter job is a pair of matching cupboards (lower) with open shelving above, painted the same colour as the walls or contrasting the wall colour. That configuration suits 90% of living rooms. For TV alcoves I'll usually include a single cupboard one side for kit, and drawers the other for clutter - or cable-managed open media shelving.
For showpiece installs I've built: full-height cupboard-to-ceiling wall units with coffered backs; library shelving with integrated reading lights and a rolling ladder; mirrored-back display shelving with lacquered reeded glass doors; window-seat cupboards that double as storage and seating. Anything you can imagine in a sketch, I can build.
Drawers are dovetailed hardwood with soft-close Blum runners. Doors are hung on concealed soft-close hinges. Handles range from discreet push-to-open catches to statement solid brass knobs from Armac Martin and Corston. The carcass is where the money goes; the finish is where the character comes out.
The detail work - why bespoke alcove costs what it costs
The invisible work is what takes the time. Scribing a carcass to follow a wavy Victorian plaster line. Running the existing skirting profile across the front of the unit so it looks continuous with the rest of the room. Notching the back of the carcass around a picture rail. Fitting cornice that meets the ceiling line squarely when the ceiling dips 15mm across three metres.
I paint on-site, two coats of undercoat, two top coats, rubbed down between each. All joins are caulked so there's no visible seam where the unit meets the chimney breast. The finished job reads as part of the house, not as a piece of furniture plonked in it. That's why a quality alcove unit from a proper joiner is around four times the cost of a B&Q equivalent - and why it'll still look right in twenty years.